REPXPERT Alistair Mason replaces the clutch and dual mass flywheel in a 2005 BMW X3 fitted with a 2.0 diesel engine. The X3 shares the same platform as the 3 Series, so if you’ve replaced a clutch on one of these, everything will look pretty familiar, the only major difference being a transfer box on the back of the gearbox. With the full repair instructions available on the REPXPERT workshop information portal and a book time of 3.4 hours, this makes a great repair for any independent workshop.
Workshop equipment needed
• Vehicle lift, (two-post or wheel free is ideal)
• Gearbox jack
• Tall axle stand or similar
• BMW clutch alignment tools
With the vehicle placed on the lift, raise the vehicle to gain access to the underside, remove the engine and gearbox undertrays, and stow safely. Remove the four bolts that secure the floor brace to the body under the gearbox, and take off the brace. Support the rear of the exhaust with a tall axle stand, remove the exhaust mountings and the exhaust front pipe brackets from the lower bell housing, and then ease the exhaust system to the O/S of the vehicle, while still on the axle stand . Take off the heat shield that is positioned between the exhaust and the prop shaft.
Remove the front prop shaft (Fig 1). It is always advisable to mark the position of the prop shaft/flanges to avoid balance issues following reassembly. Also mark the position of the rear prop shaft to gearbox flange, detach it from the gearbox flange and remove the centre bearing, then tie the prop shaft to the side.
Disconnect the wiring loom from the back of the gearbox and the reverse light switch on the side. Place a gearbox jack under the gearbox to support it, detach the rear gearbox mounting and lower the gearbox, which will now provide access to the gear stick linkage. Take off the pin retaining clip and pin and disconnect the linkage from the gearbox.
Remove the two nuts from the clutch slave cylinder (Fig 2), detach the slave cylinder from the gearbox and secure away from the gearbox.
Working around the bell housing, remove the bell housing bolts, but note there is a smaller bolt inserted from the back of the engine into the housing. When all bolts have been removed, ease the gearbox away from the engine. When clear, lower the gearbox and place it safely to
With the clutch now visible, it was possible to confirm that the clutch had reached the end of its service life, as the adjuster springs were fully extended.
Un-bolt the clutch cover and remove the clutch cover and plate assembly. The dual mass flywheel was then tested and had excessive rotational free play, so it was also replaced (all dual mass flywheel test information is available through REPXPERT and the REPXPERT app under Checkpoint).
Attention now turns to the gearbox and the clutch release system. Remove the release bearing and arm assembly, check the nylon pivot point and guide tube for wear and replace if required. Clean the bell housing using clutch and brake dust cleaner.
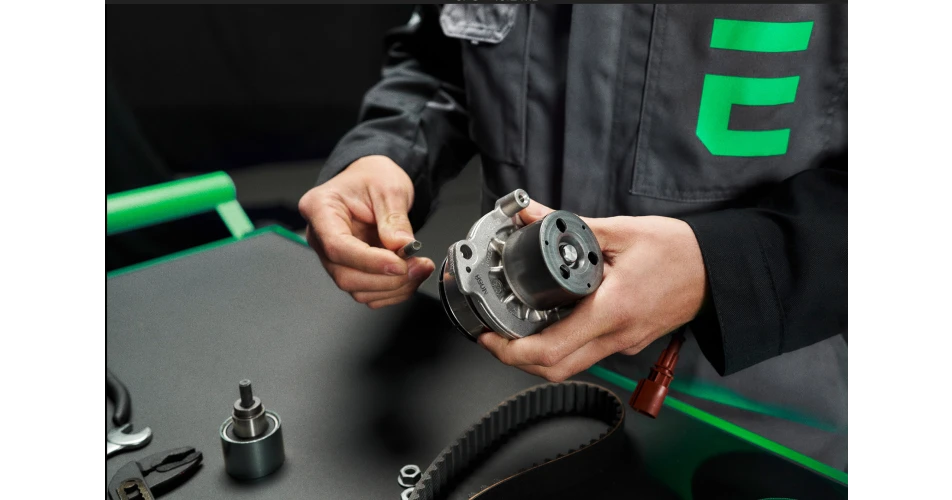
Fit the release bearing to the new release arm, ensuring its position and location are correct using the information on the bulletin in the box, as these may have a short and long reach position. Apply a light smear of high melting point grease to the guide tube and fit the release bearing assembly. Also, apply a light smear of high melting point grease to the gearbox input shaft splines, mount the new clutch plate onto the input shaft. This will confirm the fitment is correct and evenly distribute the grease. Remove the clutch plate and wipe off any excess grease.
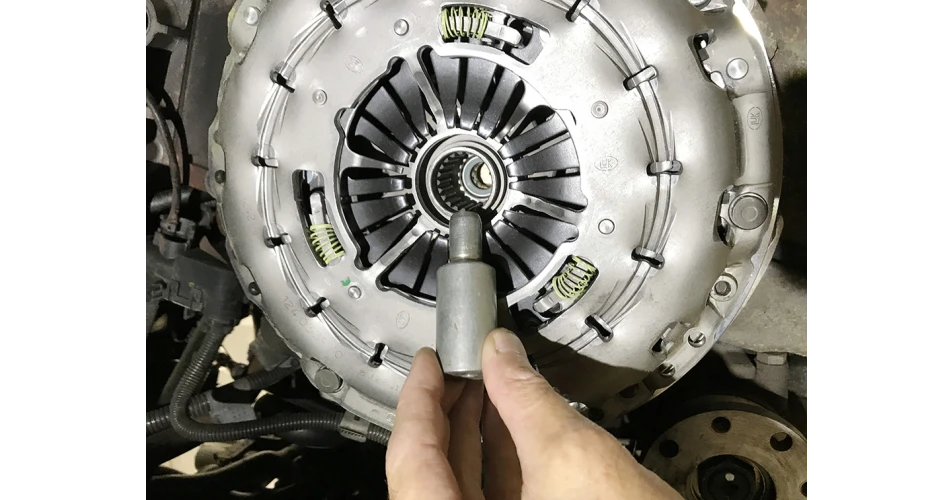
Mount the new clutch onto the dual mass flywheel. The specified BMW process must be followed at this point, as the new clutch has a transport locking plate installed, which can only be removed when the clutch is bolted up. First de-grease the flywheel face and clutch pressure plate face using clutch and brake dust cleaner. Then, using the correct size mandrel, insert it into the spigot bearing (Fig 3) and then mount the clutch plate onto the mandrel ensuring it is the correct way around, indicated by “Gearbox side”.
Locate the clutch cover/pressure plate on the flywheel dowels and insert the six bolts, tighten in an even and sequential sequence, torqueing the bolts to the manufacturer’s specification. Remove the transport locking plate using the correct size Allen key, and rotate in an anti-clockwise direction. Use an 8mm bolt to remove the mandrel.
Before re-fitting the gearbox, ensure the engine to gearbox alignment dowels are installed in the engine and also note that some of the bell housing bolts are one-use aluminium applications and must be replaced.
The gearbox is now ready to be reinstalled. Ensure all cables and ancillary items are clear and will not get trapped. Ease the gearbox into position and align on the dowels. Once located onto the dowels, secure in position with a couple of easily accessible bell housing bolts. Final installation is then in reverse order of the removal.
Carry out a full road test to ensure a successful repair.
Information on Schaeffler products, fitting instructions, labour times and much more can be found on the REPXPERT garage portal - www.repxpert.co.uk - the REPXPERT app, or by calling the Schaeffler REPXPERT hotline on (+44) 872 737 0037.
To read more of this technical article or download the entire article click
here. There are lots more Tech Tips to view, and they are all searchable, on
TechTips.ie.


-1-copy.jpg)