Air Conditioning (AC) season has arrived, bringing the usual empty systems that require leak detection, as well as calls to the Autobiz helpline about these problems. The methods used to detect leaks in vehicle air conditioning (AC) systems have evolved significantly over time, driven by technological advancements, environmental concerns and the introduction of new refrigerant types. This is an overview of the changing landscape of AC leak detection.
Traditional Methods These methods were commonly used before more advanced technologies became widely available.
Visual Inspection: This method involves a careful examination of the AC system components, including hoses, connections, compressor, condenser, and evaporator, for visible signs of leaks. These signs can include:
- Oil stains or residue: Refrigerant carries oil, so leaks often leave an oily mark.
- Moisture or frost: Unusual condensation or frost on AC components, even in moderate weather, can indicate a leak.
- Hissing sounds: A continuous or loud hissing noise might suggest a significant refrigerant leak.
Soap and Water Solution (Bubble Test): A simple and old method where a soapy water solution is applied to potential leak points. The formation of bubbles indicates a leak. This method is generally effective for larger, more easily accessible leaks.
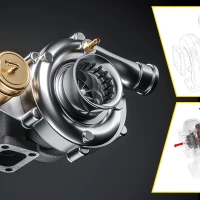
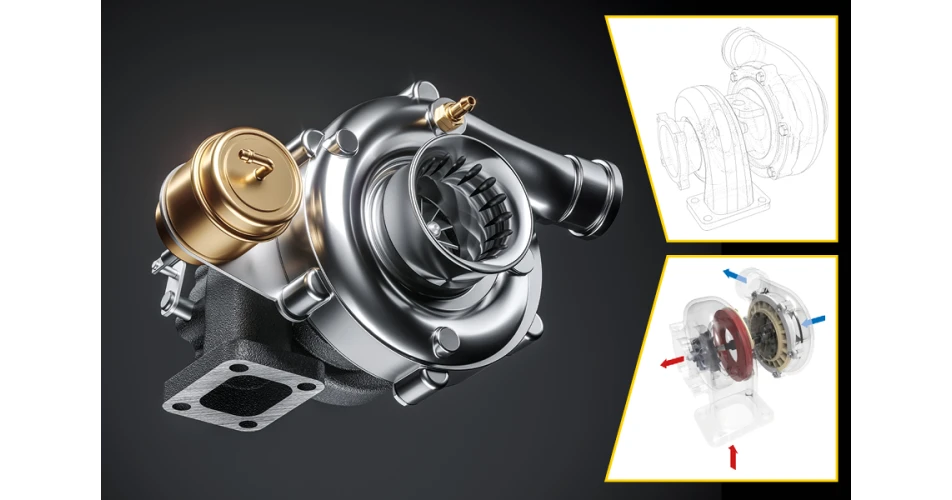
Nitrogen Pressure Test: The evacuated AC system is filled with nitrogen (an inert gas) to a specific pressure (e.g., up to 12 bar). The system is then monitored for a pressure drop over a period (e.g., 5-10 minutes). A decrease in pressure indicates a leak. Leak detection spray can be used to identify the exact location of the leak by looking for bubble formation.
A Modern Approach But identifying the exact location of the leak can sometimes prove extremely difficult, until now. This method takes the guesswork out of the leak detection process.
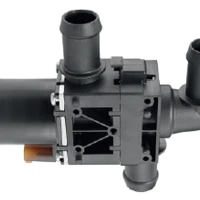
We have been splitting the system up into component areas, and pressure testing individual components with Nitrogen. This makes the whole process more accurate. To do this, we employ a rather clever kit to connect to each component in turn. Each adapter has a standard ¼ inch hose connection, complete with a Schrader valve insert. They can be installed without the removal of the component from the vehicle.
This process is repeated on all components in the system, including the hoses. Our preferred tool is a highly accurate digital gauge set, which can monitor pressures down to 1 hPa/millibar.
One component that is often difficult to access is the Evaporator. Disconnect the TX valve and replace it with an appropriate connector and blank. Then, Nitrogen @10 bar can be monitored with a gauge over time.
To confirm a diagnosis, the suspected component can be removed from the vehicle and submerged in a water tank. With pressure applied, any leak will be visible by looking for bubbles.
To see or download this article click
here. There are lots more Tech Tips to view, and they are all searchable, on
TechTips.ie.
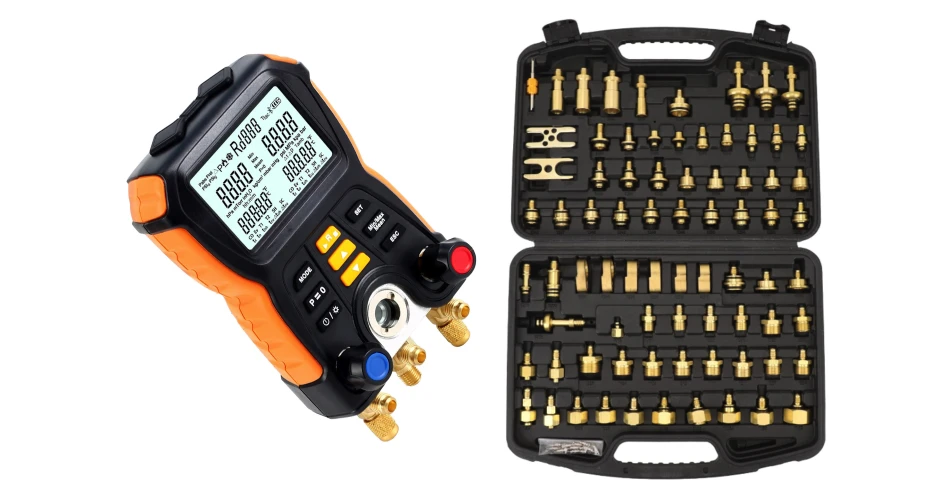 A highly accurate pressure meter and fittings can isolate individual AC components to find leaks