REPXPERT Alistair Mason is replacing the clutch assembly on a 2007 Citroën C4 Grand Picasso, fitted with a 1.8-litre 16 valve petrol engine. The parts were ordered ready for the job, the service information and technical bulletins were checked on REPXPERT prior to the repair, and the repair instructions and torque settings were also printed in advance. With a scheduled time of 9.7 hours and only basic workshop equipment required, it is a profitable job for any independent workshop.
Advised workshop equipment - Vehicle lift (two-post is ideal)
- Engine support
- Transmission jack
- Clutch alignment tool
Gearbox removal With the vehicle on the ramp, open the bonnet and then raise the vehicle to gain access to the underside. Remove the engine undertray and lower the vehicle to waist height, remove the N/S/F wheel and hub nut, followed by the N/S/F wheel arch liner. This now gives better access to the gearbox and makes visible the two battery tray retaining bolts
(Fig 1), which must be removed to allow the later removal of the battery tray.
Lower the vehicle to gain access to the engine bay
(Fig 2), remove the air box assembly, battery and tray, this now gives good access to the top of the gearbox, so the multiplugs for the reverse light switch and the crank speed sensor can be disconnected. Unclip the battery to the engine wiring loom and disconnect the retaining bracket to give better access to the top bell-housing bolts, then remove the upper bell-housing bolts, disconnect the gear change cables and remove the crank sensor.
Raise the vehicle to gain access to the underside and remove the N/S sub-frame leg
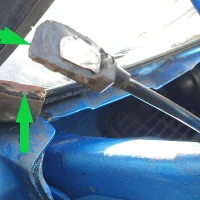
(Fig 3). As the slave cylinder hydraulic pipe does not need to be slackened, remove the two clutch slave cylinder bolts and ease the slave cylinder away from the gearbox. Remove the gearbox drain plug and while the gearbox oil is draining, disconnect the N/S bottom ball joint and remove the N/S driveshaft. Now disconnect the gearbox pendulum mount
(Fig 4), as this will allow the engine to move, and remove the gearchange cable bracket.
Tip: Whilst in this area, remove the O/S driveshaft seal housing, as this will eliminate the need to remove the O/S driveshaft
(Fig 5). Remove the lower bell-housing bolts, leaving one easily accessible to support the gearbox.
Support the engine and remove the gearbox mounting and carefully lower the gearbox and engine assembly slightly to aid gearbox removal. Support the gearbox with a transmission jack, remove the final bell-housing bolt, and ease the gearbox away from the engine. Once clear, lower the gearbox and remove it from the vehicle.
Clutch replacement Before removing the clutch, it is advisable to remove any excess clutch dust with some brake & clutch dust cleaner. Tip: It is good practice to note the position of the clutch components as they are removed as this may help with correct installation. Remove the six clutch pressure plate bolts and then the clutch pressure plate and clutch plate assembly. This vehicle is fitted with a solid, single mass flywheel, the surface of which must be inspected for any heat cracks. Provided that it’s okay, remove any glaze from the flywheel surface with Emory cloth and clean with brake & clutch dust cleaner.
Attention now turns to the gearbox and clutch release system
(Fig 6). Remove the clutch release arm and release bearing, and inspect the release bearing guide tube for any wear
(Fig 7), as well as the release arm and release arm pivot. In this instance wear was evident, so the guide tube, arm and pivot were all replaced.
Check the bell-housing area for any oil leaks, and repair if required, then clean with brake & clutch dust cleaner. Fit the release bearing onto the guide tube and locate it into the release arm
(Fig 8). Now apply a light smear of high melting point grease to the splines on the gearbox input shaft and slide the clutch plate onto the input shaft. This will carry out two tasks, first, it ensures the clutch plate fits correctly and second, evenly distribute the grease. Then remove the clutch plate and wipe off any excess.
Now install the new clutch assembly onto the flywheel. Using a clutch alignment tool, and with the “Gearbox side” on the clutch plate indicating its correct position. Locate the clutch plate onto the flywheel, dowels. Install the bolts and tighten evenly and sequentially, and then torque to the manufacturer’s specification.
Gearbox installation To aid installation, ensure the gearbox alignment dowels are located in the engine and all cables and brackets are clear. Using the transmission jack, bring the gearbox close to the engine, and, if necessary, spend some time aligning the gearbox before easing it into position until it is aligned on the dowels and mated to the engine. Insert a couple of easily accessible bell-housing bolts and tighten to secure the gearbox to the engine.
Installation is in the reverse order of removal. Torque all bolts to the manufacturer’s specification, refill the gearbox with the correct specification and quantity of oil, and reset the required electrical consumers after the battery is reconnected. Finally, always carry out a road test to ensure you have completed a quality repair.
Information on Schaeffler products, fitting instructions and labour times can be found on the REPXPERT workshop portal, www.repxpert.co.uk, the REPXPERT app,
or by calling the Schaeffler REPXPERT hotline on (+44) 1432 265 265. To read more of this technical article or download the entire article click
here. There are lots more Tech Tips to view, and they are all searchable, on
TechTips.ie.
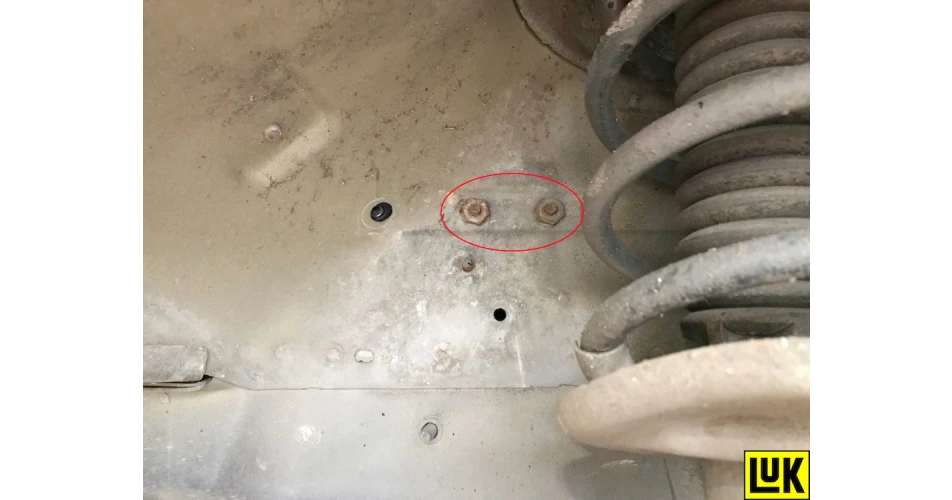 Fig. 1
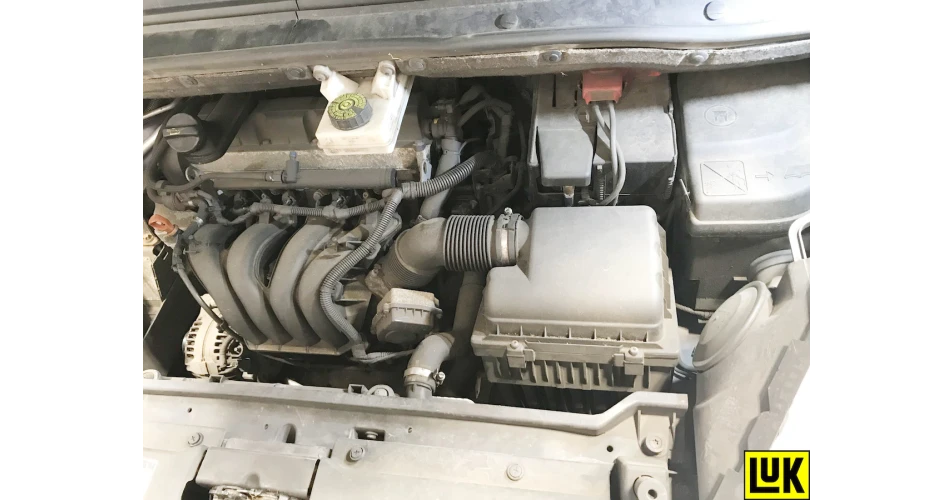 Fig. 2
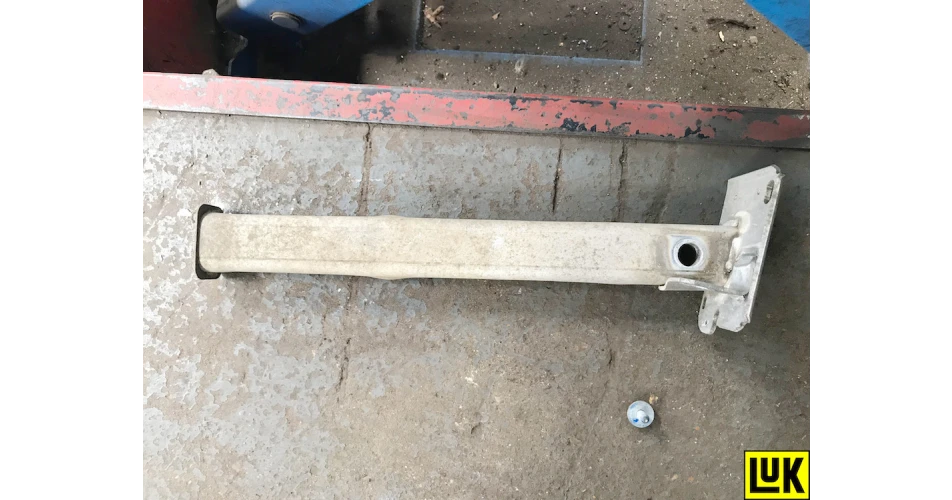 Fig. 3
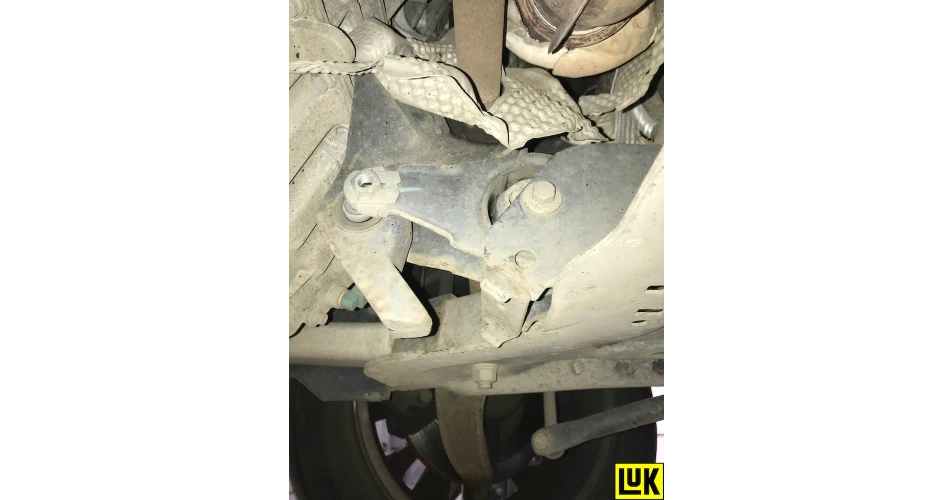 Fig. 4
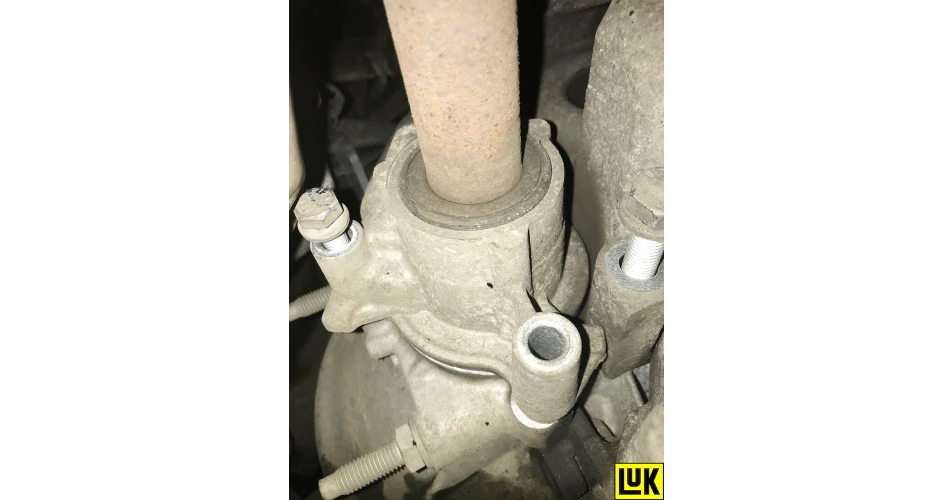 Fig. 5
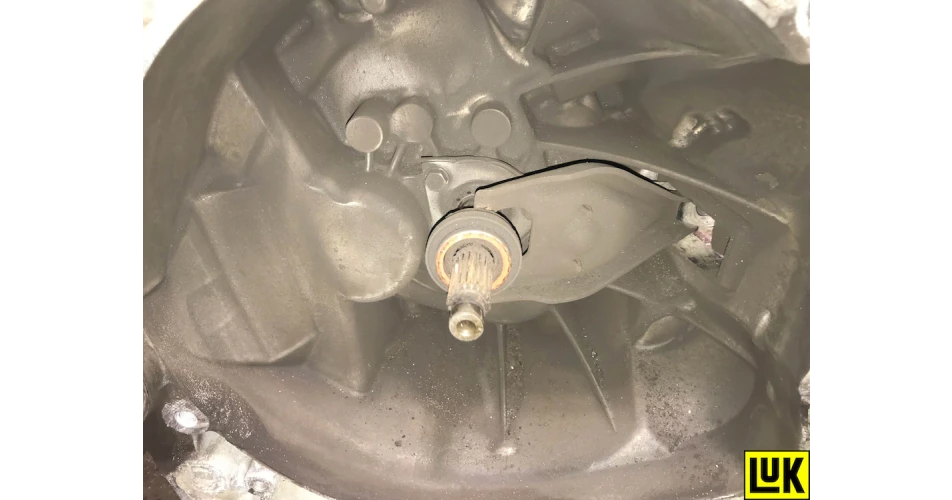 Fig. 6
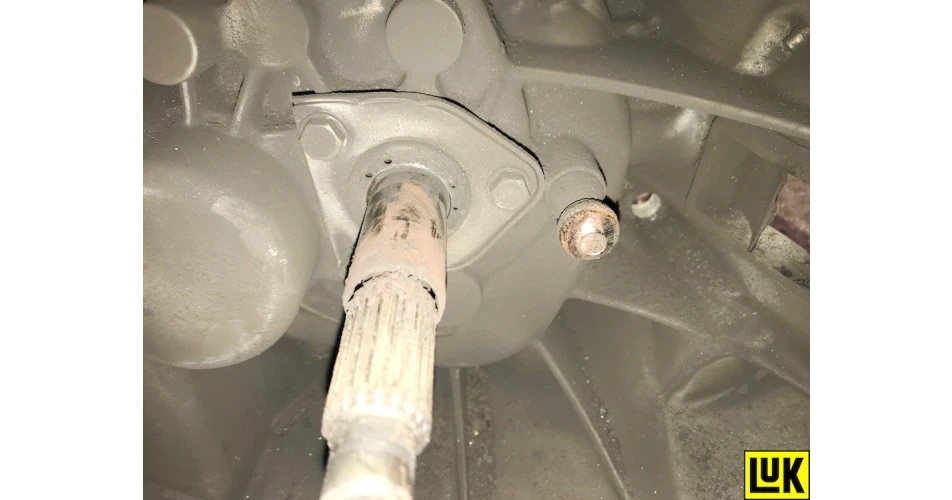 Fig. 7
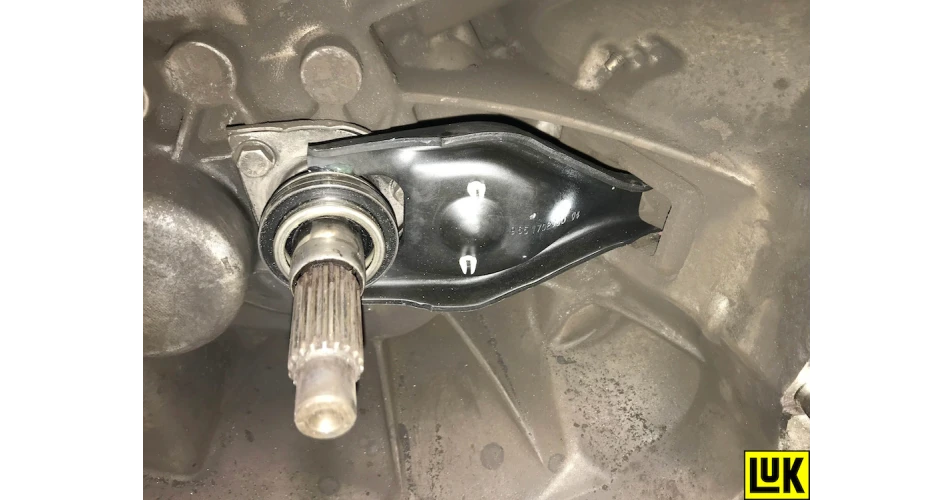 Fig. 8

-1.jpg)

-1.jpg)
-1.jpg)