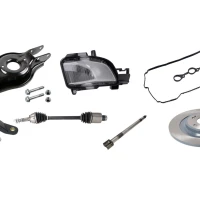
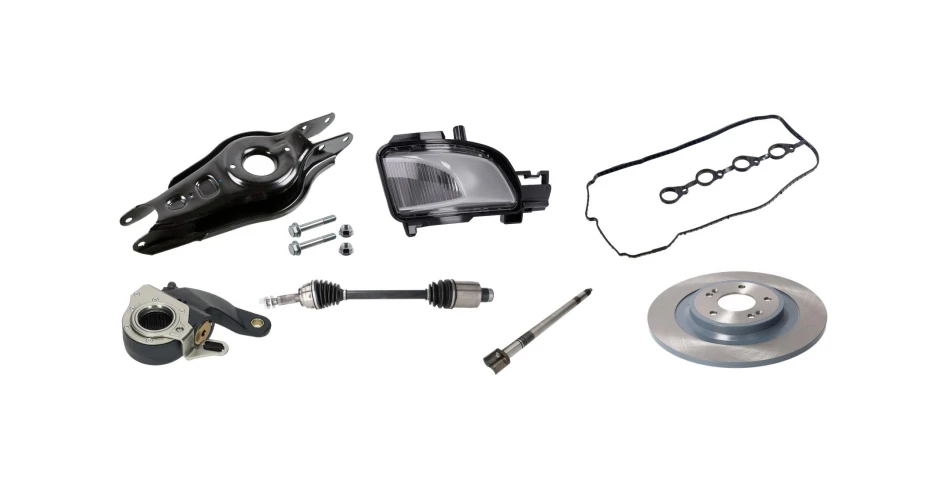
Recognising that a CV boot is worn and needs to be replaced is easy, but what about the CV joint? GKN gives some tips on when a CV joint is still fit for service, if it needs to be replaced and also provides some general guidelines to follow when replacing CV Joints and boots.
Whenever possible use boots specifically developed for the joint in question. During assembly do not distort or overstretch the boot. Pay attention to the correct tightening force of any clamps and always follow the manufacturer’s instructions. Always comply with the indicated tightening torques of any bolts or fasteners, de-aerate boots and use suitable tools. A quality CV boot repair kit provides you with all parts needed for the correct repair. When mounting the joint, always examine all of the parts. Always replace the circlip and use new screws/bolts for fixing. For outboard joints, always replace the retaining nut.
Different joint lubricants are available for ball and tri-pod joints, as well as for standard and high-performance applications. The ingredients are adjusted to the steel of the joint and the boots for the respective application. This enables the components to act smoothly. High-performance greases can withstand temperatures of up to 160° Celsius for short periods of time, while standard joint lubricants are designed to withstand short-term exposure to temperatures of up to 110° Celsius. Using a standard lubricant in a high-performance application may result in the out-gassing of the grease, and ultimately to the total failure of the joint. The amount of grease in a quality CV boot repair kit is sufficient to completely fill the corresponding joint and boot.
CV removal - inboard joint - Cut off retaining clips and turn boot inside out over the driveshaft.
- Expand and take off circlip.
- Knock the joint from the shaft using a plastic or rubber hammer. Always make sure to knock on the hub. Knocking on the ball guide ring or joint will damage the joint.
- Pull off boot. Remove waste grease and thoroughly clean the joint and all of its components.
CV removal - outboard joint - Cut off both retaining clips.
- Turn boot inside out over driveshaft.
- Expand circlip. Joints fitted with inside-positioned circlip (invisible) have to be pulled off the shaft by tapping with a plastic or rubber hammer on the joint’s face.
- Pull joint from shaft.
- Pull off boot. Remove waste grease and thoroughly clean the joint and all of its components.
CV Joint Inspection After thoroughly dis-assembling and cleaning all of the interior components of the CV joint, carefully examine the parts for any indication of wear or damage. Some examples of abnormal wear are shown on this page. Slight polishing of the bearing surface of the inner or outer races is normal, but any wear, even slight wear, that can be detected by touch is a clear sign that the CV joint should be replaced. Any damage should also cause you to replace the CV joint.
CV Assembly - Apply retaining clip to the shaft. Place boot in correct position between ridges of the shaft.
- Fill half the grease supplied into the joint.
- Plug the joint on the shaft until the splines of the shaft and the ball hub are in line.
- Using a plastic or rubber hammer, drive the joint carefully on the shaft until the circlip expands to fit its function position. The circlip should snap into the groove of the connecting shaft or respectively expand behind the ball hub.
- Apply gear-sided joints with disc connection using a plastic or rubber hammer. WARNING: Use a tube or pipe to make sure you only hit the hub of the joint. This way, you can avoid the ball cage or the joint being damaged. The joint must be firmly fixed onto the shaft.
- Fill in the remaining grease.
- Lock retaining clip with pliers. Place circlip in the groove of the ball hub. Both shanks of the circlip should lie in the outer recess. If the circlip has to be positioned inside, place it in the groove of the shaft. Joints fitted with disc spring and thrust washer: Take care that these parts are installed in their right positions.
- Pull boot onto joint in correct position and de-aerate boot.
- Apply second retaining clip by hand as tight as possible.
- Lock retaining clips with pliers and check close fit. The boot rim must be in full contact with the joint and driveshaft.
You can see this GKN TechTip
here, or see all of the TechTips from GKN
here.
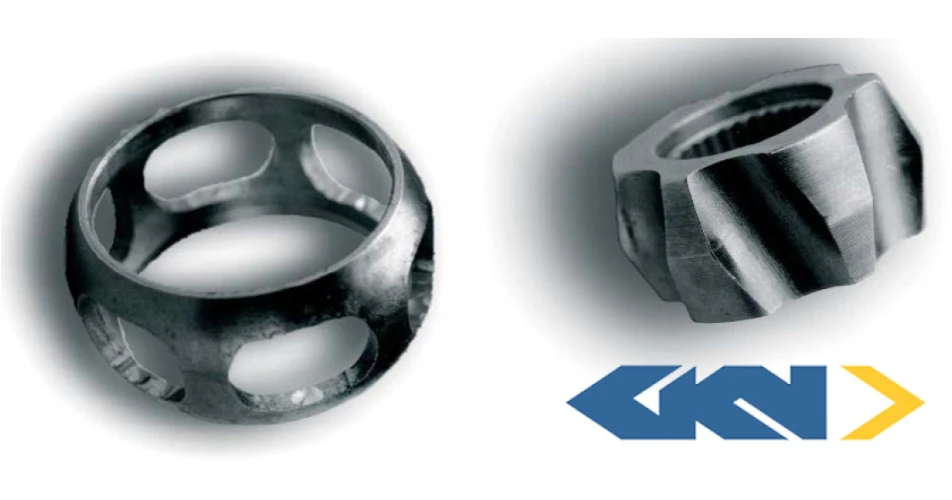 Examine the hub inside the CV joint and the bearing cage for any wear, beyond polishing. Deformation of any surfaces would require the joint to be replaced.
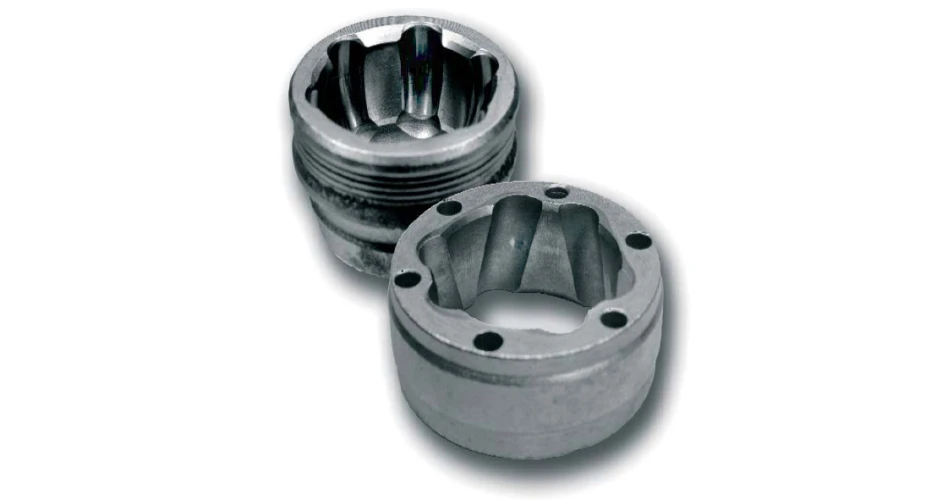 Examine the interior of the CV joint for any wear, beyond polishing