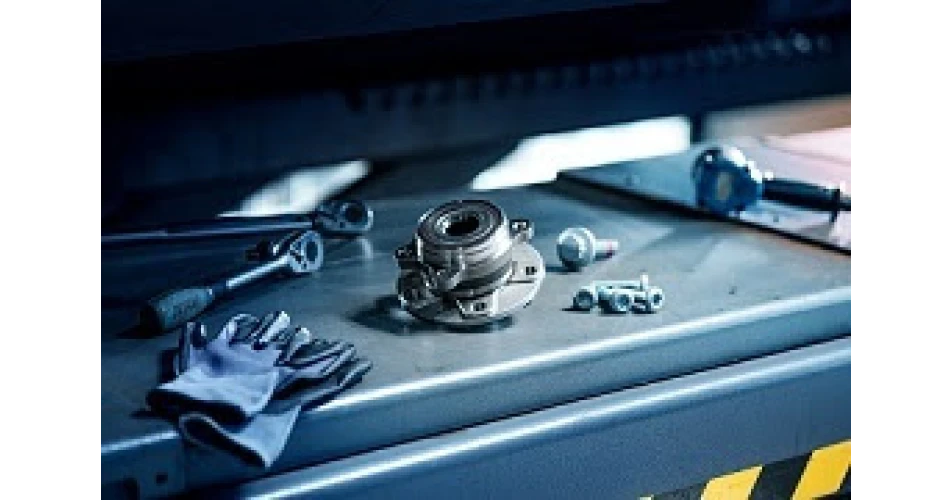
REPXPERT Alistair Mason is replacing the clutch & dual mass flywheel in a 2015 Kia Carens, fitted with a 1.7 CRDi engine that has covered more than 112,000 miles. Kia launched the Carens compact MPV in the UK and Ireland in 1999 and it has proven to be a popular model for the company, as it has now spanned four generations. With a book time of 3.9 hours, this clutch replacement makes a great repair for any independent workshop.
Workshop equipment - Vehicle lift (two-post is ideal)
- Engine support
- Transmission jack
- Clutch alignment tool
Gearbox Removal With the vehicle on the ramp, open the bonnet, remove the air ducting to the air filter and then the air filter assembly, followed by the battery, engine control unit (Fig 1) and the battery carrier, which then gives good access to the top of the gearbox (Fig 2).
Disconnect both multiplugs on the top of the gearbox, then the gear cables and remove the cable support bracket and the crank sensor on the back of the gearbox, followed by the upper bell housing bolts. Remove the grommet in the N/S inner wing to gain access to the gearbox mounting bolts (Fig 3).
Raise the ramp and remove the undertray and then the gearbox oil drain plug to drain the gearbox oil. Whilst it’s draining, lower the ramp to waist height and remove both front wheels and the N/S/F splash guard (Fig 4). The next step is to detach the driveshafts, so remove both hub nuts, release both bottom ball joints, ease the shafts out of the hubs and, once free, the driveshafts can be levered out of the gearbox and removed from the vehicle.
Remove the lower gearbox pendulum mounting and disconnect the bottom intercooler hose. Remove the small bottom bell housing plate, then the lower bell housing bolts, leaving an accessible bolt to support the gearbox until the point of its removal. At the front of the gearbox, disconnect the multiplug, then remove the clutch slave cylinder and pipe bracket, gearbox earth strap and the starter motor bolts and support the engine with a transmission jack.
To access the gearbox mounting, remove the two bolts through the hole in the inner wing (Fig 5), and remove the mounting from the gearbox. Lower the engine and gearbox assembly, but support the gearbox with a second transmission jack, and remove the final bell housing bolts to ease the gearbox away from the engine. When clear, lower the gearbox on the transmission jack and remove from the vehicle.
Clutch Replacement Remove the clutch assembly from the flywheel, inspect the back of the engine for any leaks, and rectify if required, then clean the back of the engine and flywheel with brake and clutch dust cleaner. As a solid flywheel is fitted, remove the glaze from the flywheel face using some Emery cloth and clean again with brake and clutch dust cleaner.
Remove the release bearing and arm from the gearbox and closely inspect them for any wear on the release arm, pivot point and especially the release bearing guide tube. These can be prone to wear and cause release bearing issues. Finally, clean the bell housing area with brake and clutch dust cleaner.
Fit the release arm and bearing, but be aware of the rule that if it is plastic/nylon running on metal - no lubrication is required, whereas metal running on metal - lubrication is required, and a light smear of high melting point grease is advised. Apply a light smear of high melting point grease to the gearbox input shaft splines, mount the new clutch plate onto the input shaft, which will confirm the clutch plate is the correct fitment and it will also evenly distribute the lubrication on the input shaft. Then remove the clutch plate and wipe off any excess grease.
Ensure the clutch plate faces the correct component and, using a universal clutch alignment tool, align with the clutch pressure plate and secure. Mount the clutch assembly onto the flywheel (Fig 6), insert all clutch bolts and tighten and torque them in an even and sequential process.
Before refitting the gearbox, ensure all wiring etc. is clear of the bell housing area so that it does not get trapped. Check the gearbox alignment dowels are fitted to the engine and that the release mechanism in the gearbox is fitted and functioning correctly.
Gearbox Replacement Place the gearbox on the transmission jack, bring the gearbox close to the engine, ease the gearbox into position and ensure it locates on the alignment dowels. When in position, fit two easily accessible bell housing bolts and tighten, then refit all the components in reverse order of their removal and torque all bolts to the manufacturer’s specification. After the battery lead has been reconnected, reset all electrical consumers.
Note – if the locking tabs break off during their removal, new hub nuts may be required. In addition, to ensure a successful repair, always carry out a thorough road test.
Information on Schaeffler products, fitting instructions, labour times and much more can be found on the REPXPERT workshop portal - www.repxpert.co.uk - the REPXPERT app, or by calling the Schaeffler REPXPERT hotline on
(+44) 1432 265 265.
To read more of this technical article or download the entire article click
here. There are lots more Tech Tips to view, and they are all searchable, on
TechTips.ie.
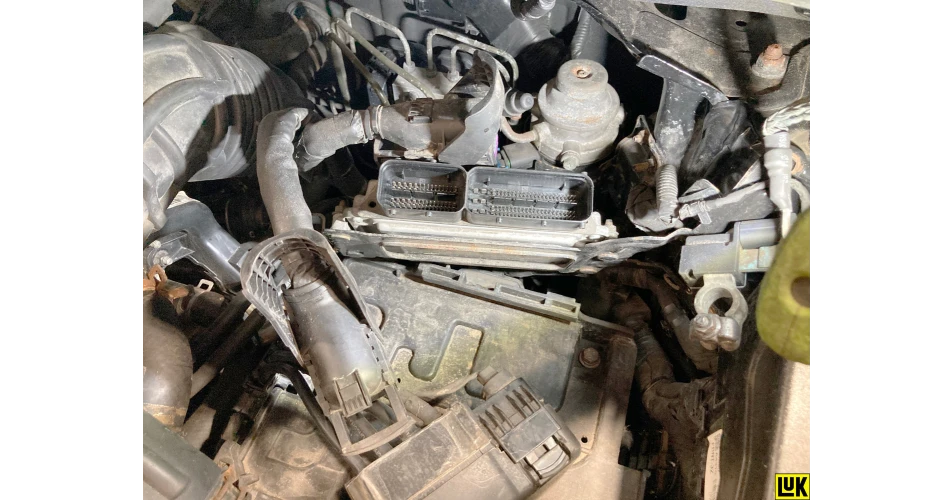 Fig 1
Fig 1
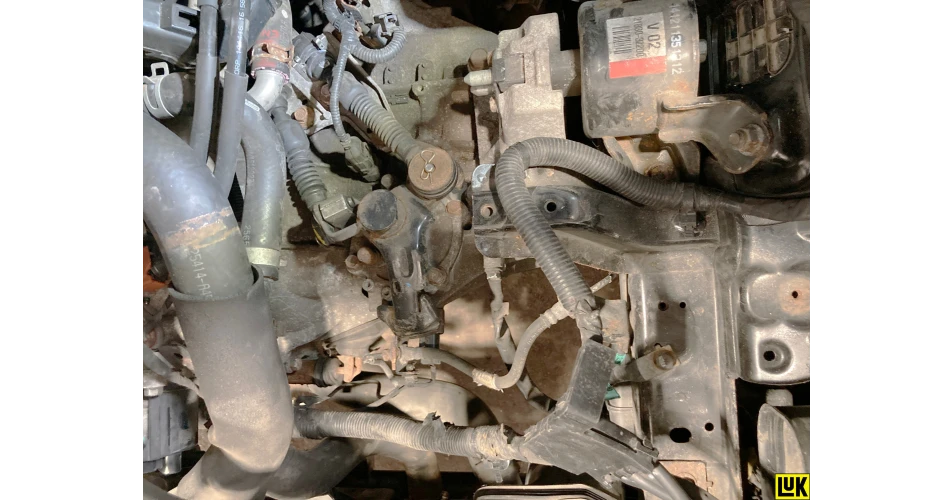 Fig 2
Fig 2
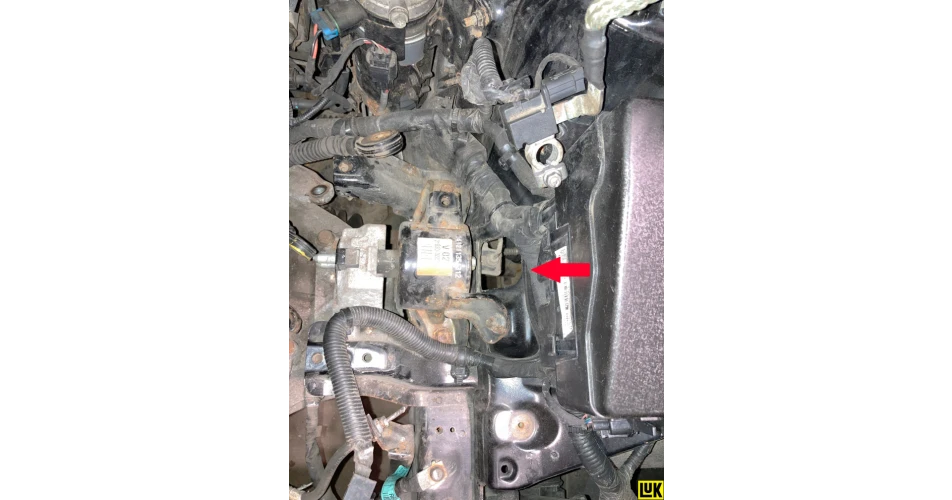 Fig 3
Fig 3
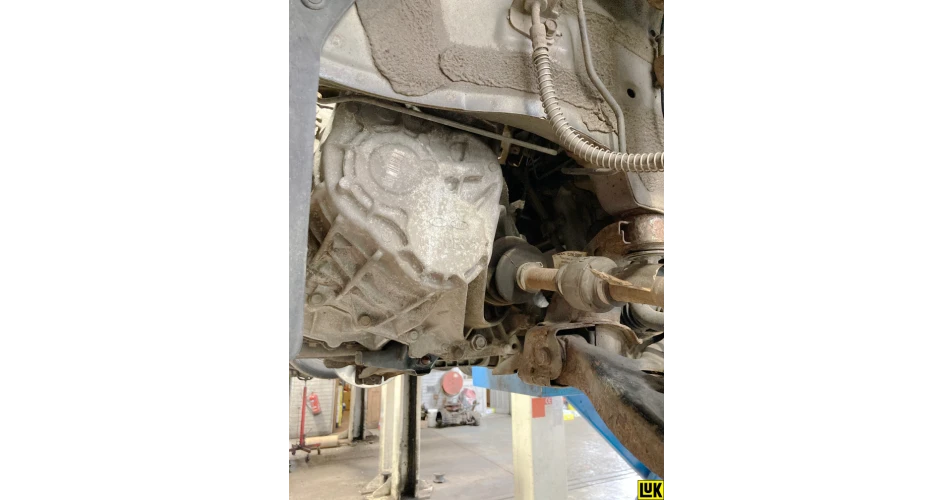 Fig 4
Fig 4
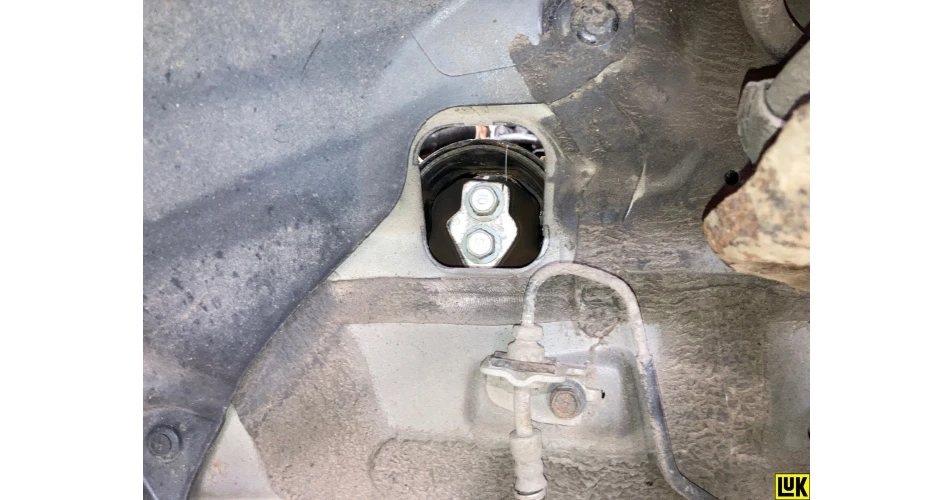 Fig 5
Fig 5
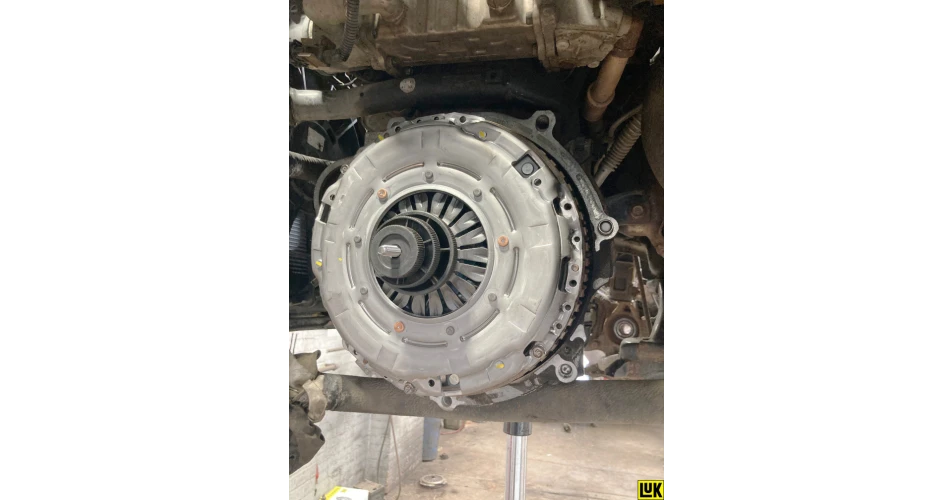 Fig 6
Fig 6


-2.jpg)

-2.jpg)