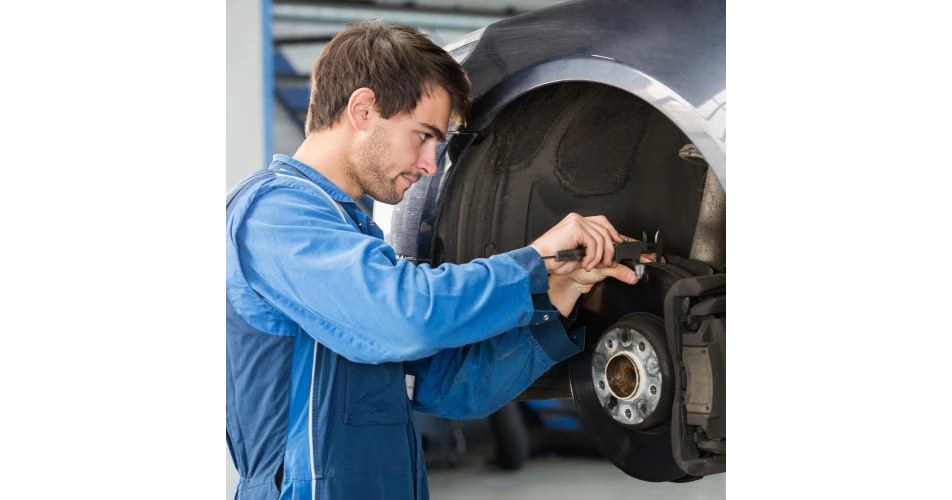
Brake calipers are often overlooked when it comes to servicing brakes. Shaftec explains best practice regarding calipers when servicing brakes, what to look for and how to handle the job properly.
How a brake caliper works
A brake caliper works by forcing fluid, under high pressure, to the calipers. The fluid pushes one or more metal pistons in each caliper against the rear face of a friction pad, moving the pad’s friction lining into contact with the brake disc. The pad slows the disc and produces heat and dust/metal particles as by-products. The caliper is held in place on a sliding mount, which allows the caliper to remain centred around the disc and ready for action.
Park brakes traditionally used cables, connected to a mechanical handbrake lever to force brake pads onto the discs. On more recent models, Electric Park Brakes (EPB) use an electric motor and an ECU to activate the park brake mechanism within the caliper. This motor can be mounted either directly on the caliper, or to the centre of the car, where it controls a set of cables. When working on calipers, steps should be taken to ensure that the EPB does not activate as you service the brakes, which could not only damage the caliper, but also cause a serious injury to yourself. This requires that you activate ‘service mode’; some cars will allow you to do this from the driver’s seat, instead of using hand-held diagnostic equipment.
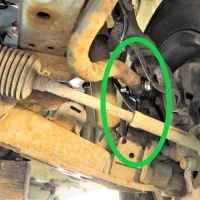
Calipers – what goes wrong? Being made from iron or steel and subjected to moisture, salt and dust, it is not surprising that corrosion strikes at not only the external body, but also the moving parts of the caliper and it’s mountings. The resultant iron oxide can restrict movement, making them seize and causing the brakes to not release fully, in the early stages. External corrosion can spread behind and lift the protective gaiters, allowing water to permeate the unit, making things worse. As brake fluid absorbs moisture, calipers are also prone to corrosion attack internally. A further weak spot is not only the rubber gaiters but also the hydraulic seals, total failure of which results in potentially dangerous fluid leakage.
Shaftec knows from its sales data that calipers are subjected to more wear during wintertime. Falling temperatures make the rubber components more brittle and prone to cracking, enabling moisture access and compounding the corrosive issues that are caused by damp and road salt during the winter months.
Shaftec warns that poor maintenance also increases caliper wear. Aside from neglecting brake fluid changes (required every two years), brake discs and friction pads that have worn excessively cause the caliper piston(s) to extend further than normal, increasing the stress on the easily-damaged seals and gaiters.
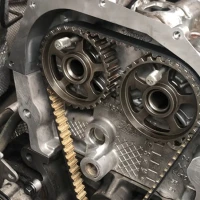
Top 10 Brake Caliper fitting tips Not only can damaging your old caliper by careless removal cost your surcharge, but incorrect fitting can also cause similar harm – wasting your time, potentially voiding your warranty and risking having your brakes not working properly.
- Retract the hydraulic brake caliper piston fully. Consult your workshop manual for specific instructions, because many designs require that you use a dedicated tool.
- Do not move the handbrake lever (where fitted) and always keep the ignition switched-off.
- Locate the brake pads in the caliper, dependent on the design – do not use copper grease, which can introduce problems.
- Check the condition of the fixing bolts to either the carrier or the hub, and tighten them to the specified torque value. Remove the bung protecting the port and fit the hydraulic hose.
- Check the clearance between the brake pads and the disc, which should measure between 0.25mm and 1.0mm. If the setting is incorrect, remove the pads and adjust the piston outwards to adjust the clearance,
- Bleed the braking system to not only replace the old hydraulic fluid but also to purge it of any air bubbles.
- Tighten all bleed screws after bleeding has been completed, and pump the brake pedal five or six times. This allows the caliper pistons to adjust themselves into their natural position.
- Where fitted, assemble the handbrake cable, or connect the EPB cable/wiring.
- Switch on the ignition and check that the EPB operates, if fitted. Alternatively, operate the handbrake several times and ensure that the travel is not excessive. Usually, it should not be more than six clicks on the ratchet.
- After road-testing the car, check the brake fluid level again and top it up if necessary.
You can see this Shaftec TechTip
here or see all of Shaftec's TechTips
here.